Inflow and Infiltration
 Dye Testing
Dye Testing
Dye Testing
To enter this area directly from the Additional Information Tab
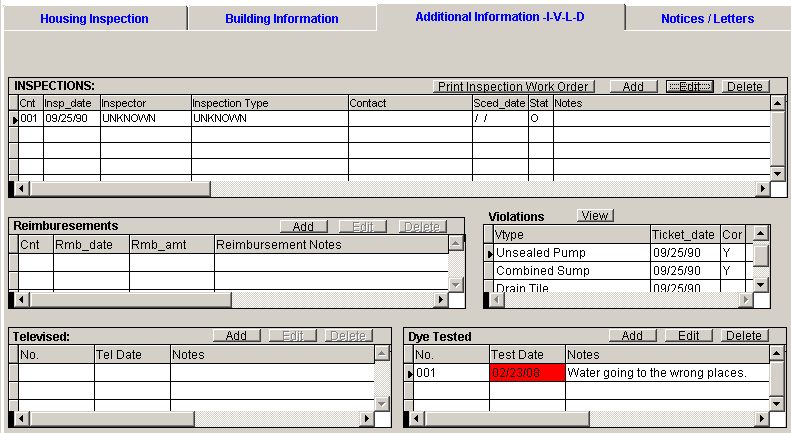
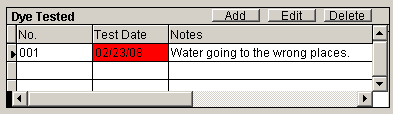
Click Add or Edit on the Dye Test Grid.
Here is the form:
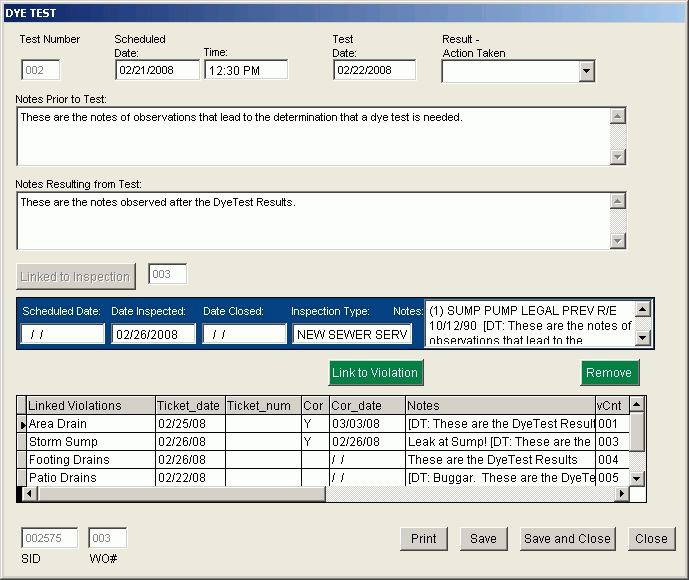
The fields.
Test Number: This is a computer generated tracking number. Not editable.
Scheduled Date: Required. Date you have arranged with the property owner to conduct the test.
Time: Recommended. The time of day your inspector should arrive at the property.
Test Date: Date the test was peformed.
Result – Action Taken: This can be blank. The default values are Fixed, Repair Ordered, Needs Govt Action. Additional choices can be entered through the program Administrative Functions.
Notes Prior to Test: Enter information gathered from the initial inspection or conversation with owner, that prompted the need for a test.
Notes Resulting from Test: What was discovered from this test.
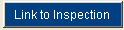 Link(ed) to Inspection. : If you have not linked this Test to an inspection then the second row of fields will not be visible and the text will say Link to Inspection. Click that button and select an existing inspection to Link.
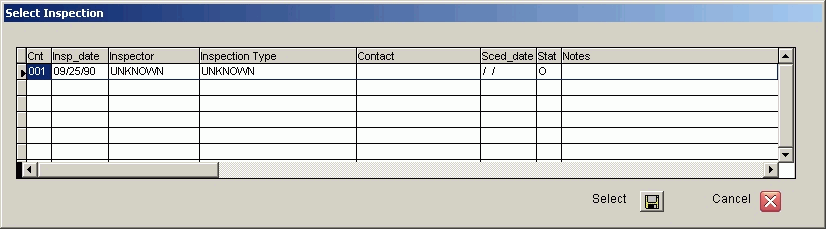
Once linked the text will say: Linked to Inspection. The Inspection number will be displayed to the right and a new button will appear to Remove Link. Also some of the details of the inspection will be shown on the screen under the buttons.

Refer to the Section: Using I / I, I/I Monitor - Main Screen, Additional Information, Inspections, Linking to Dye Tests for the rest of this section.